How to upload blog on website by uploadblog. com: The Ultimate Guide to Mastering UploadBlog.com
Introduction
We have all been there. You pour your heart into writing a fantastic blog post. You edit it, polish it, and finally, you are ready to share it with the world. Then comes the dreaded question: how exactly do you get this thing from your computer screen to your live website? If you have ever felt that moment of panic staring at a blank content management system, you are not alone.
Thankfully, there is a tool designed to take the stress out of this process. When you want to upload blog on website content quickly and efficiently, UploadBlog.com acts as the bridge between your creative work and your audience. It strips away the confusing backend jargon and gives you a clean, simple path to publishing.
In this guide, I am going to walk you through everything you need to know. We will cover the setup, the technical bits, and the best practices to ensure your content looks professional. Whether you are a complete beginner or a seasoned writer looking for a smoother workflow, this article will help you hit “publish” with confidence. Let’s get started.
What is UploadBlog.com and Why Should You Use It?
Before we dive into the mechanics, let’s talk about the tool itself. UploadBlog.com is a streamlined content management solution. It is designed for creators who do not want to wrestle with code or complicated plugins.
Think of it as a clean slate. The platform focuses on one thing: helping you upload blog on website pages without friction. Unlike traditional platforms that pack in hundreds of features you will never use, this service keeps things minimal.
The Benefits of a Simple Upload Tool
When I first started managing websites, I used a massive, all-in-one platform. It was overwhelming. I spent more time managing the software than actually writing. UploadBlog.com solves that problem.
-
Speed: The interface loads fast. You do not wait for heavy dashboards.
-
Clarity: Every button and field serves a purpose. There is no clutter.
-
Focus: It allows you to focus on your content, not the formatting.
If your goal is to maintain a consistent publishing schedule, removing technical barriers is essential. This platform does exactly that.
Getting Started: Your First Step to Publish
To upload blog on website content, you first need to get familiar with the dashboard. Do not worry—there is no steep learning curve here.
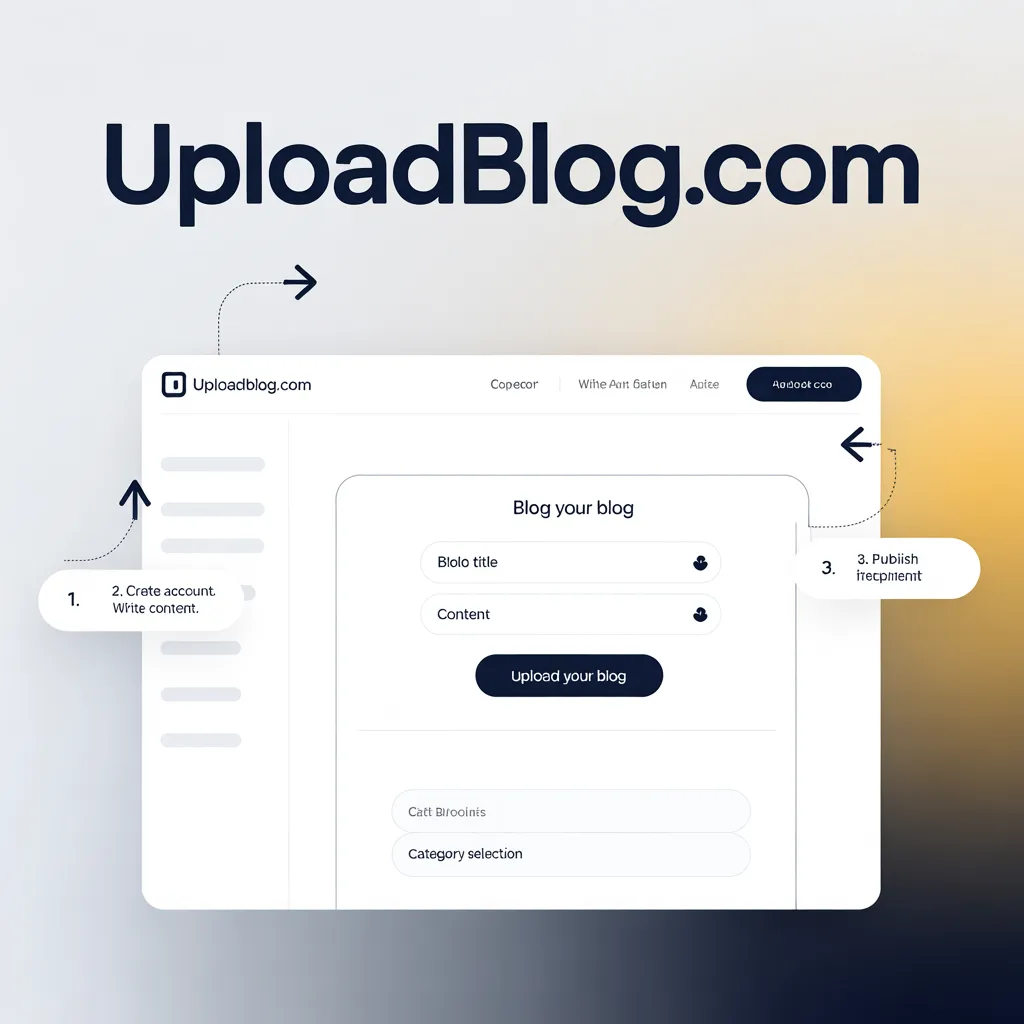
Creating Your Account
The first step is signing up. You will need a valid email address. Once you confirm your account, you are taken to the main hub. This is where all your uploaded content will live.
Connecting Your Domain
UploadBlog.com allows you to connect your existing domain. This is crucial. You want your content to live on your website address, not a third-party subdomain.
-
Go to the “Settings” tab.
-
Look for the “Domain” section.
-
Enter your website URL.
-
Follow the DNS instructions provided.
This process usually takes a few minutes to propagate. Once connected, you are ready to start creating.
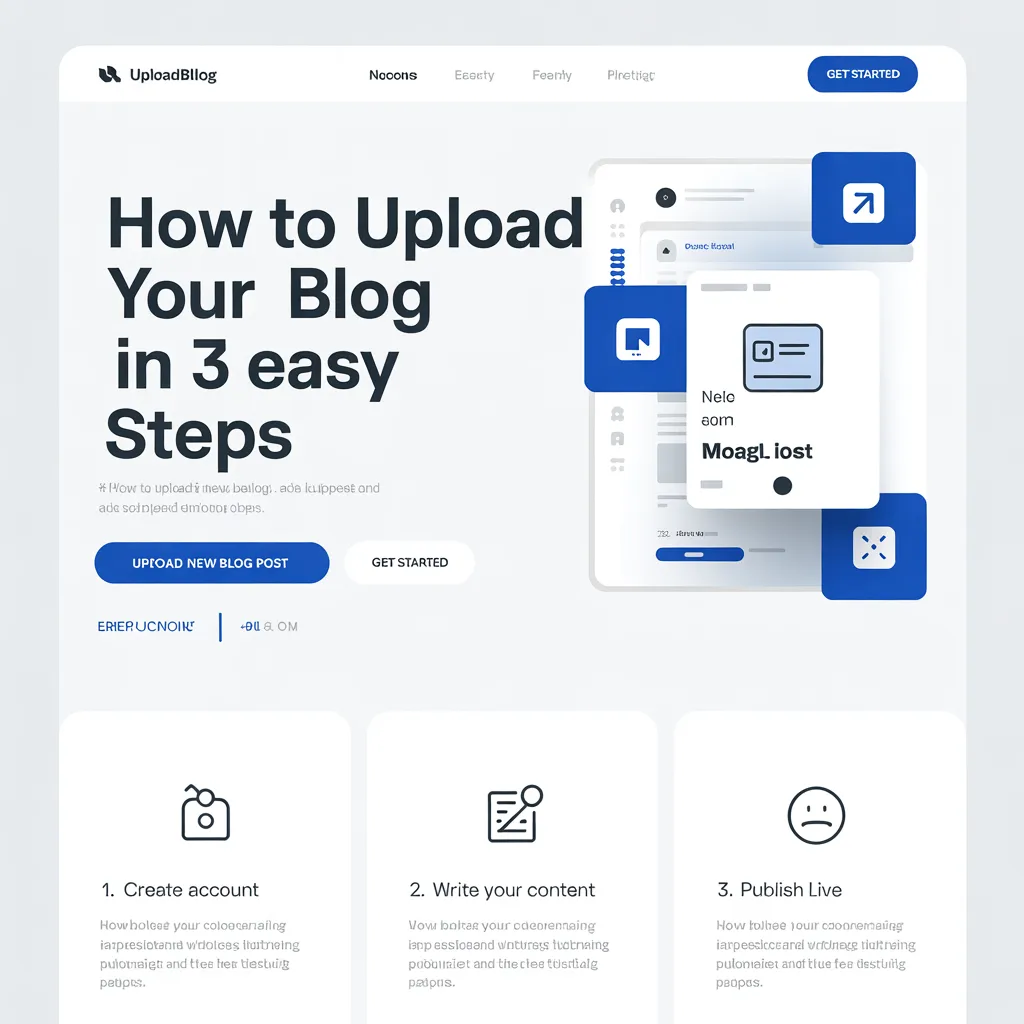
Step-by-Step: How to Upload Blog on Website
Now we get to the main event. Here is the step-by-step process to take your written content and get it live.
Step 1: Accessing the Uploader
After logging in, look for the bright “New Post” or “Upload” button. It is usually located in the top right corner. Click it.
Step 2: Adding Your Content
You will be greeted with a text editor. It looks similar to a simplified word processor.
-
Title: Enter your blog headline here. Make it catchy.
-
Body: Paste your text here. You can type directly or copy-paste from a document.
-
Media: Use the image icon to upload photos. Drag and drop works best.
Step 3: Formatting for Readability
Nobody wants to read a wall of text. Use the toolbar to add headings (H2, H3), bold important phrases, and create bulleted lists. This makes your article scannable.
Step 4: Setting the URL Slug
Before you hit publish, scroll down to the “URL Settings.” By default, the system might use your title with random numbers. Change this to a clean, short slug. For this article, for example, you would want something like “upload-blog-on-website-uploadblog.”
Step 5: Scheduling or Publishing
You have two choices here.
-
Publish Now: This makes the content live immediately.
-
Schedule: If you want the post to go live on a specific date or time, choose the schedule option.
Once you are satisfied, click the large “Publish” button. That is it. You have successfully used the platform to upload blog on website content.
Common Mistakes to Avoid When Uploading
Even with a simple tool, there are a few pitfalls that can hurt your results. I have made these mistakes myself, so I want to save you the headache.
Ignoring Image Optimization
One of the biggest mistakes is uploading huge image files. If you drop a 5MB photo into your blog, your page will load slowly. Slow pages frustrate readers and search engines.
-
Tip: Compress your images before uploading. Tools like TinyPNG or Squoosh are free and easy to use.
Forgetting the Meta Description
The meta description is the short blurb that shows up in Google search results. If you leave it blank, Google often grabs random text from your article, which might not be a compelling reason to click.
-
Tip: Always fill out the meta description field. Keep it under 160 characters and include your primary keyword.
Broken Links
After you upload, click through your post. Check every link. A broken link looks unprofessional and frustrates readers.
Best Practices for a Successful Upload
Uploading is just the technical part. To truly succeed, you need to think about the reader experience. Here are the best practices I rely on every time I publish.
Keep Paragraphs Short
When you write for the web, you need to respect attention spans. I try to keep paragraphs to two or three sentences max. Short paragraphs look inviting on a mobile phone screen.
Use a Consistent Format
Your readers should know what to expect. If you use a blue box for “Tips” in one article, use the same style in the next. Consistency builds trust.
Preview Before You Publish
Always use the “Preview” function. This shows you exactly what the reader will see. Look at it on both desktop and mobile views. A font that looks great on a computer screen might be too small on a phone.
How to Optimize Your Content for Search Engines
When you upload blog on website content, you are not just writing for humans; you are writing for search engines too. However, do not let that scare you. Optimization is mostly about common sense.
Primary Keyword Placement
You should use your main keyword naturally. Do not force it. For this guide, the main keyword appears in the title, the first paragraph, and a couple of times in the body. That is enough.
Using Internal Links
Internal links are links to other pages on your own website. They help readers stay on your site longer.
-
Example: If you previously wrote a guide on “SEO Basics,” link to it within your new post.
Mobile Responsiveness
UploadBlog.com automatically ensures your site looks good on phones. However, you should still double-check. Most of your traffic will likely come from mobile devices. If your content is hard to read on a small screen, people will leave.
Troubleshooting: What to Do When Something Goes Wrong
Sometimes, technology fails. It happens to everyone. Here are a few common issues and how to fix them.
“The page is not displaying correctly.”
If your blog looks like a jumble of code or missing images, try clearing your browser cache. Often, the page is simply loading an old version. If that does not work, check your internet connection and try the upload again.
Images are broken.
If you see a broken image icon, the link to the image file is incorrect. Go back to the editor. Remove the image and re-upload it. Ensure the file name does not have weird symbols or spaces.
I lost my draft.
This is a frustrating experience. Most modern editors auto-save. However, to be safe, I always write my drafts in a separate document (like Google Docs or Word) first. Then, I copy-paste into UploadBlog.com. This way, even if the browser crashes, my work is safe.
Advanced Tips for Power Users
Once you are comfortable with the basics, you can start using some advanced features to streamline your workflow.
Batch Uploading
If you have a backlog of articles, you can upload them in bulk. Look for the “Import” option. You can often upload a folder of HTML files or text documents. This saves time compared to copying and pasting each one individually.
Collaborating with a Team
If you have a team of writers, you can assign roles. You can set some users as “Editors” who can publish, and others as “Authors” who can only write drafts. This is great for maintaining quality control.
Custom CSS
For those who know a little code, UploadBlog.com allows custom CSS. This lets you tweak the look of your blog. You can change fonts, button colors, or spacing to match your brand perfectly.
How UploadBlog.com Compares to Other Platforms
You might be wondering why you should use this instead of the popular alternatives. Here is my honest take.
If your main goal is simply to upload blog on website content regularly, this platform offers a focused experience that larger systems often lose sight of.
Maintaining Your Blog After Upload
Your job does not end when you hit publish. A blog is a living thing. It needs maintenance.
Update Old Content
Go back to your older posts every few months. Are the links still working? Is the information still accurate? Updating old content tells search engines that your site is active and cared for.
Engage with Comments
If your blog allows comments, reply to them. This builds a community. Readers are more likely to return if they know the author is listening.
Check Your Analytics
Connect your analytics tool to see how people find your blog. Look at which topics get the most views. This tells you what to write about next.
Conclusion
Learning to upload blog on website content should not feel like a chore. With the right tools, it can be a smooth and even enjoyable process. UploadBlog.com strips away the complexity, allowing you to focus on what matters most: connecting with your readers through great writing.
We have covered a lot here. From setting up your account and formatting your text to optimizing for search engines and troubleshooting common errors, you now have a complete roadmap. The technical side is handled. All that is left is for you to share your voice.
What is the one topic you have been waiting to publish? Now that you know how easy the process is, there is nothing stopping you. Go ahead and upload your first post today.
Frequently Asked Questions
1. Is UploadBlog.com free to use?
The platform usually offers a free tier with basic features. Premium plans unlock advanced features like custom domains and priority support. Check their pricing page for the most current details.
2. Do I need coding skills to upload blog on website using this tool?
No. The entire system is designed for non-technical users. You do not need to know HTML, CSS, or JavaScript to publish a professional-looking post.
3. Can I upload videos to my blog posts?
Yes. You can embed videos using the HTML embed code or by pasting the URL from platforms like YouTube or Vimeo directly into the editor. The system usually converts the link into an embedded player automatically.
4. What happens if my upload fails halfway through?
If a failure occurs, check your internet connection first. The system often saves drafts automatically. If the file is large, try breaking it into smaller sections or uploading during off-peak hours.
5. Can I edit a post after it is published?
Absolutely. You can return to your dashboard, click on the post you want to change, and edit the content. After making changes, click “Update” to save the revisions live on your site.
6. How do I add categories or tags?
When creating a new post, look for the “Categories” or “Tags” panel on the side of the editor. You can create new categories or select existing ones to help organize your content.
7. Does UploadBlog.com support multiple authors?
Yes. You can invite other users to contribute. You can manage their permissions to ensure they only have access to the features they need.
8. How do I ensure my blog is mobile-friendly?
The themes provided by UploadBlog.com are responsive by default. However, after you upload your content, always preview it on a smartphone to ensure images scale correctly and text is readable without zooming.
9. Can I schedule posts for the future?
Yes. Instead of clicking “Publish,” look for the “Schedule” option. You can set the exact date and time you want the article to go live.
10. What should I do if my images are not showing up?
First, ensure the image file is fully uploaded. If it still does not appear, check the file name. Remove any spaces or special characters. Often, renaming the file to something simple like “blog-image.jpg” solves the problem.